
Light and shadows are the essence of woodland photography, crafting the mood and adding depth to transform ordinary forest scenes into breathtaking works of art. By mastering natural lighting techniques and embracing the interplay of light and shadow, photographers can convey the unique mood of the forest, turning every image into a captivating story.
Mastering the interplay of light and shadows in woodland photography is far more impactful than relying on expensive gear. Whether you’re a beginner or an experienced photographer, understanding these elements can elevate your work to new heights. For a comprehensive guide to building a strong foundation in woodland photography, check out my article: Beginner's Woodland Photography Basics.
To refine your techniques even further, download my guide: Taming the Chaos: The Key to Better Woodland Photography Compositions. Let’s explore how you can harness light and shadows to capture the magic of the woods.
Table of Contents
Why Light and Shadows Matter in Woodland Photography
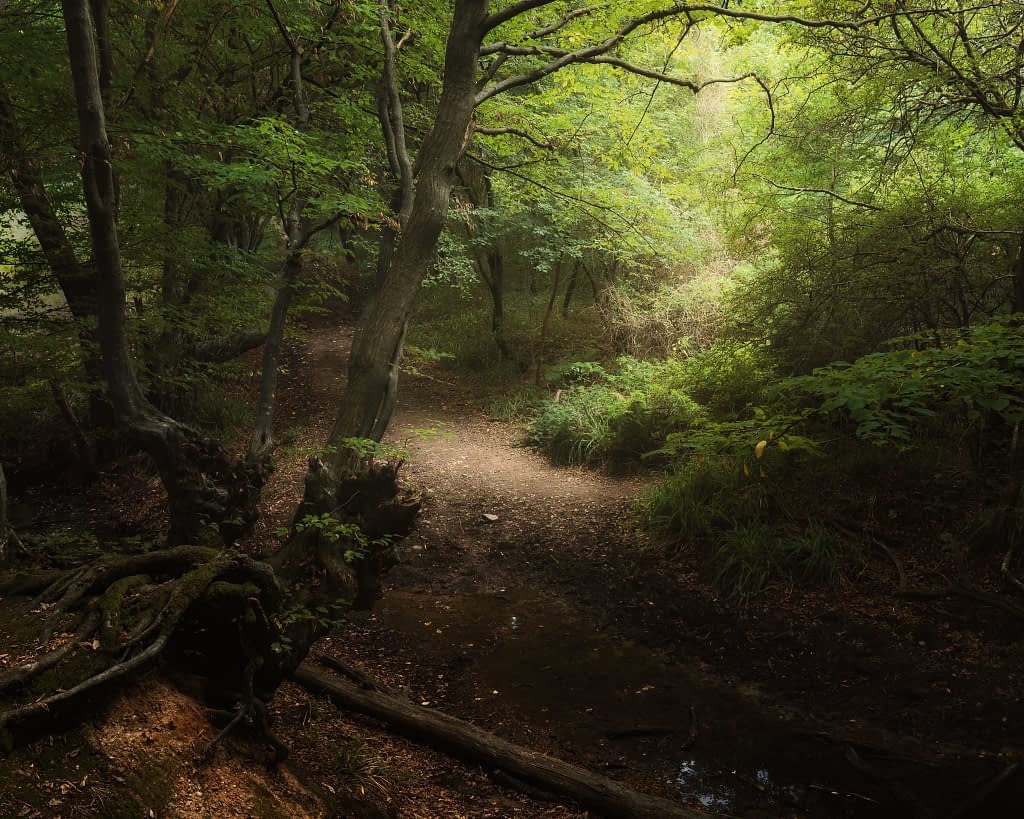
When I first began photographing woodlands, I was captivated by the intricate textures of the trees and the serene beauty of the environment. However, I often overlooked the importance of light and shadows in woodland photography. My early shots felt flat and uninspiring, lacking the depth and drama that make woodland scenes truly compelling. Everything changed when I started paying attention to how light interacted with the forest canopy, the trunks, and the forest floor.
Light and shadows bring photos to life by adding dimension and mood. Picture sunlight filtering through the leaves, casting intricate dappled patterns on the ground - it instantly creates layers that draw the viewer’s eye through the composition. Shadows, meanwhile, introduce mystery and depth, framing subjects or creating leading lines, such as a beam of sunlight illuminating mossy patches against darker, shadowed backgrounds.
Golden hour is ideal for woodland photography, with its soft, warm light enhancing details and creating long, dynamic shadows. On the other hand, overcast days offer diffused light, softening harsh contrasts and enriching colours and textures. Even shadows become tools for storytelling, guiding focus and adding balance. By embracing the natural interplay of light and shadows, you can transform a seemingly chaotic woodland into a harmonious masterpiece.
So why are light and shadows so important? They act as the storytellers of your image, evoking emotion, directing focus, and imbuing depth. Observing and creatively using these elements will elevate your work from snapshots to captivating works of art. Once you start noticing how light dances through the forest and shadows shape its beauty, you’ll discover endless possibilities in every woodland scene.
Types of Light in Woodland Photography
Understanding the different types of light is an essential skill in woodland photography and sets it apart from other genres. The behaviour of light in woodlands doesn’t always adhere to traditional photographic rules. In fact, some of the most breathtaking images emerge under conditions that might be viewed as less than ideal in other settings. Embracing the variety of light in woodland photography allows you to create atmospheric and visually striking images.
Each type of light has its own mood and character, shaping the feel of your forest scenes in remarkable ways. I recall one misty morning where the fog scattered the light and softened the landscape, creating a dreamy and ethereal quality. It was then I realised that whether it’s golden sunlight, soft mist, or dappled rays, light is the most powerful tool for conveying the magic of woodlands.
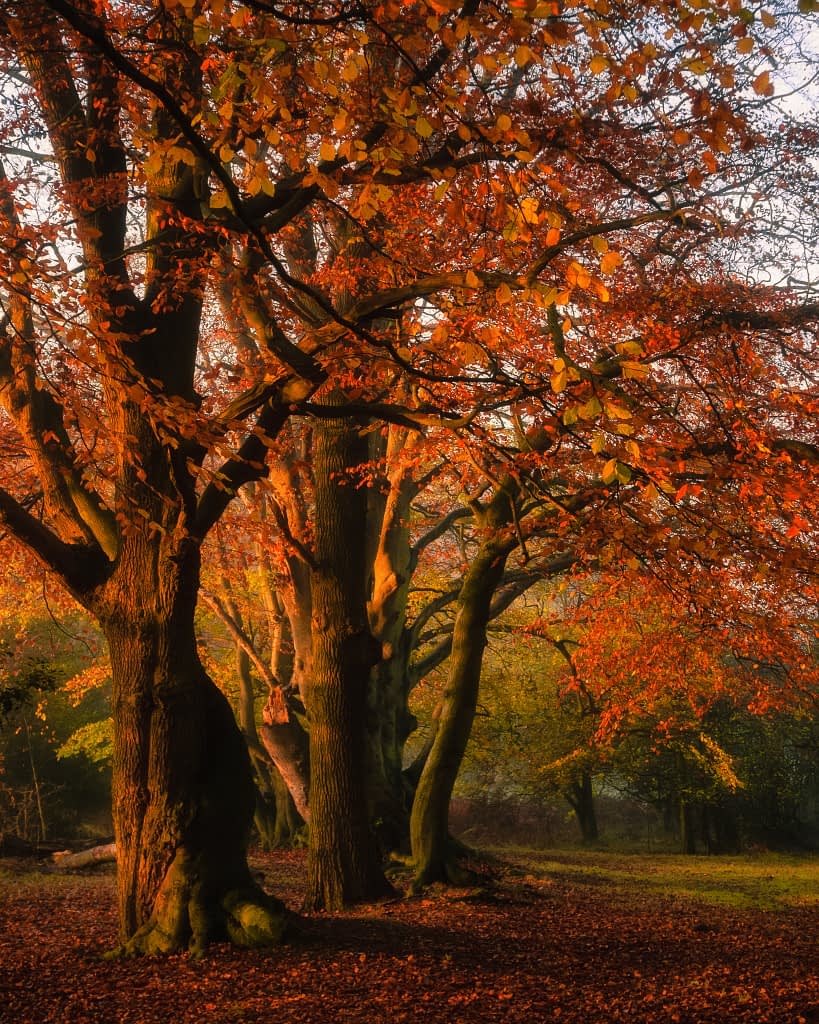
Golden hour, with its low and warm sunlight, is a highly prized time for woodland photography. Within the forest, it transforms ordinary scenes into radiant, glowing masterpieces. Light streaming through the trees creates a jewel-like brilliance, bringing leaves and branches to life. However, the interplay of sunlight on different trunks and foliage can also create complexity, demanding careful composition. Likewise, dappled light - when sunlight filters through the canopy - provides exciting creative opportunities, acting like a natural spotlight that highlights specific details. Managing this interplay of light and shadows requires skill but can result in highly artistic captures.
Overcast days, often overlooked, are a gift in woodland photography. Soft, even light enhances colours, reduces harsh contrasts, and allows rich textures to shine. Rain takes this a step further, saturating greens and browns and adding intricate textures to surfaces. The gentle glow of raindrops clinging to leaves creates intimate and atmospheric moments perfect for capturing mood.
Backlighting, where light is positioned behind the subject, offers another captivating possibility. Translucent leaves with glowing edges and rim lighting showcase the forest in a magical way. One of my favourite shots involved capturing dew-covered leaves in autumn, backlit by the morning sun - a scene that felt like it belonged in a fairytale. Equally, the cooler tones of twilight or blue hour lend a serene, introspective mood, softening shadows and creating an enchanting atmosphere.
Light in woodland photography is unpredictable and ever-changing, but this is where its beauty lies. By observing how light interacts with the trees and embracing its nuances, you’ll uncover unique creative opportunities in any condition. Adapting to these variations will not only help you create stunning images but also deepen your connection with the natural world.
Techniques for Harnessing Light in Forest Settings
Getting the most out of light and shadows in woodland photography requires more than just luck; it takes careful observation, patience and some technical know-how. When I first began photographing forests, I often found myself frustrated by shifting light that resulted in blown-out highlights or murky shadows. Over time, I learned to embrace the light rather than resist it, letting it guide my approach.
One of the first lessons I learned was the importance of a tripod. Woodlands often have lower light levels, especially during golden hour or twilight, making handholding a camera risky if you want sharp images. A tripod not only stabilises your shot but also encourages a more thoughtful approach to composition. I once captured the silky motion of a stream in a shaded glade with a 10-second exposure - an image that simply wouldn’t have been possible without the stability of a tripod.
Adapting your settings to the light is also crucial in woodland photography, where contrast can be extreme. Bracketing exposures is invaluable, allowing you to blend highlights and shadows during post-processing for a balanced, natural result. Spot metering is another essential tool. By metering off a specific area, such as a brightly lit leaf or a shadowed tree trunk, you can ensure the most important parts of your image are properly exposed.
Backlighting is one of the most striking lighting techniques but requires careful handling. Slightly underexposing your shot can preserve highlights while enhancing the glow of backlit leaves, creating a luminous effect. Shadows, too, are powerful tools in woodland photography. They can frame your subject, create leading lines, or add a sense of mystery and depth. I once used the elongated shadows of overhanging branches to guide the viewer’s eye along a woodland path, adding drama and a natural flow to the image.
Above all, patience is key. Woodland light is constantly shifting as clouds pass overhead or as the sun filters through the canopy. Waiting for that perfect moment - a sunbeam breaking through the trees to illuminate your subject - can take time but is always worth it. Take your time, experiment with the light, and allow the forest to reveal its secrets one shot at a time.
Shadows as a Creative Tool
IIf light is the canvas of a photograph, shadows are the brushstrokes that create depth, mood, and texture. In the art of light and shadows in woodland photography, shadows are far from imperfections - they’re essential elements that bring drama and narrative to your images. By learning to embrace them, you can elevate your woodland photography to new creative heights. Early in my journey, I often felt shadows made my shots chaotic, but I soon realised their power to evoke emotion, reveal structure, and enhance atmosphere in a forest setting.
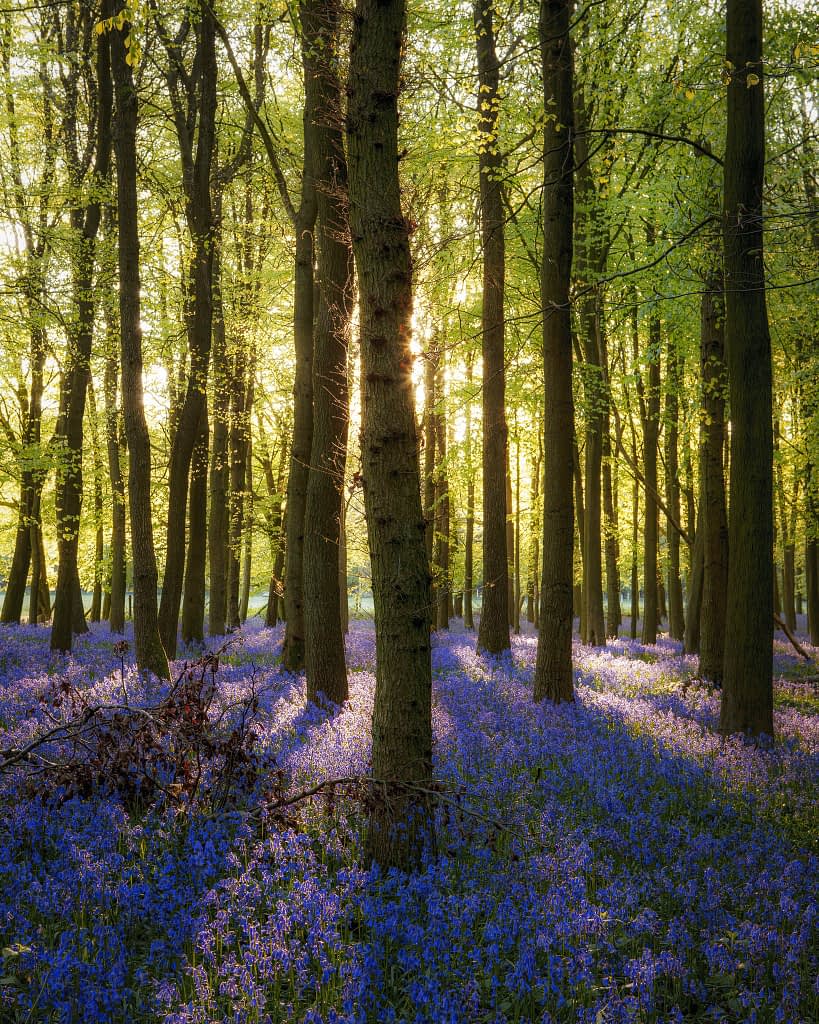
In dense woodlands, shadows are invaluable for crafting depth and balance. When paired with contrasting light, they help add clarity to scenes that might otherwise appear flat or cluttered. For example, a shadowed tree trunk against sunlit foliage creates a striking three-dimensional effect. I first encountered this while photographing an ancient oak illuminated by filtered sunlight. The interplay of light and shadows swept across the forest floor, bringing focus and cohesion to an otherwise chaotic scene.
Shadows are also excellent for guiding the viewer’s eye through your composition. Natural shadow lines, such as a branch’s silhouette stretching across the ground or the elongated forms of trees during golden hour, can act as leading lines. On one occasion, I captured shadows of towering trees that pointed directly toward a sunlit sapling, turning a straightforward shot into an image rich with storytelling. Sometimes, shadows even take centre stage, with intricate patterns from canopy leaves or abstract shapes creating artistic masterpieces.
Of course, shadows aren’t without their challenges. High contrast between light and dark tones can overpower an image if not handled carefully. Exposing for highlights is a useful way to retain details and maintain balance. During post-processing, subtle dodging and burning techniques can help enhance the intricate interplay of light and shadows in woodland photography, resulting in a more polished composition. Shadows can also be used to frame your subject, such as mushrooms glowing in soft light against a darker forest backdrop, bringing a mystical or ethereal quality to your shots.
In woodland photography, shadows do more than merely provide contrast - they tell stories, evoke emotions, and shape atmosphere. Diffuse shadows in sunlit glades bring tranquillity, while sharper, angular forms add tension and intrigue. The interplay of light and shadows in woodland photography transforms even the simplest scenes into breathtaking works of art, making observation and creativity your most valuable tools. So, don’t just follow the light - embrace the shadows and watch your images come alive.
Overcoming Common Challenges in Woodland Lighting
Learning to harness light and shadows in woodland photography is at the heart of capturing truly stunning forest images. The interplay of light and shadow is one of the most powerful tools available to photographers, helping to shape mood, create depth, and bring texture and atmosphere to woodland scenes. Whether it’s soft dappled sunlight filtering through the canopy or dramatic, angular shadows stretching across the forest floor, mastering these elements can elevate your photos from simple snapshots to captivating works of art.
In woodland environments, light is constantly shifting, presenting unique challenges but also offering endless creative opportunities. One of the most effective times to shoot is during the golden hour, when warm, diffused light floods the woods, creating long, soft shadows that add depth and enhance texture. Similarly, overcast skies can yield beautifully even lighting, perfect for capturing fine details without the distraction of harsh contrasts. For a more ethereal and moody look, shooting during misty mornings or the blue hour allows you to highlight the subtle gradients of light and shadow, creating a truly dreamlike atmosphere.
Shadows play an equally vital role in woodland photography. They provide natural frames for your subject, create leading lines, and add contrast, making your compositions more dynamic. By embracing shadows rather than avoiding them, you can accentuate the drama in a scene. For example, a shadowed tree trunk can contrast against sunlit foliage, creating a sense of depth and focus. Using shadows creatively, whether to draw attention to patterns on the forest floor or to craft abstract compositions, is key to unlocking their storytelling potential.
Mastering light and shadows in woodland photography requires observation, patience, and creativity. By learning to adapt to different lighting conditions and embracing the artistic potential of shadows, you can produce breathtaking images that capture the magic and mystery of the woods.
Practical Tips for Capturing Light and Shadows in Woodlands
Photographing light and shadows in woodland photography requires both preparation and adaptability. Woodland lighting is notoriously unpredictable, but this is what makes it so rewarding. Having spent countless hours wandering through forests, I’ve learned through trial and error how to transform the challenges of ever-changing light into creative opportunities. These tips will help you make the most of woodland conditions and elevate your images.
1. Time Your Visit Thoughtfully: Timing is key to capturing light and shadows in woodland photography. Early mornings, especially during golden hour, offer warm, soft light, long shadows, and an ethereal atmosphere enhanced by mist or fog. Blue hour and twilight bring cooler, introspective tones, while overcast conditions provide subtle, diffused light that enhances colours and textures. Rainy days further enrich the scene, saturating earthy tones and creating a vibrant, atmospheric mood.
2. Use a Tripod: Woodlands are often dimly lit, making a tripod an essential tool for achieving sharp, high-quality images. A tripod allows you to use narrower apertures, like f/8 or f/11, for optimal depth of field and to keep ISO levels low, preserving image integrity. Whether you’re capturing a silky stream flowing between moss-covered rocks or the fine textures of bark in shadowed areas, a tripod provides the stability required for longer exposures and precise compositions. If you want to master light and shadows in woodland photography, this piece of gear is indispensable.
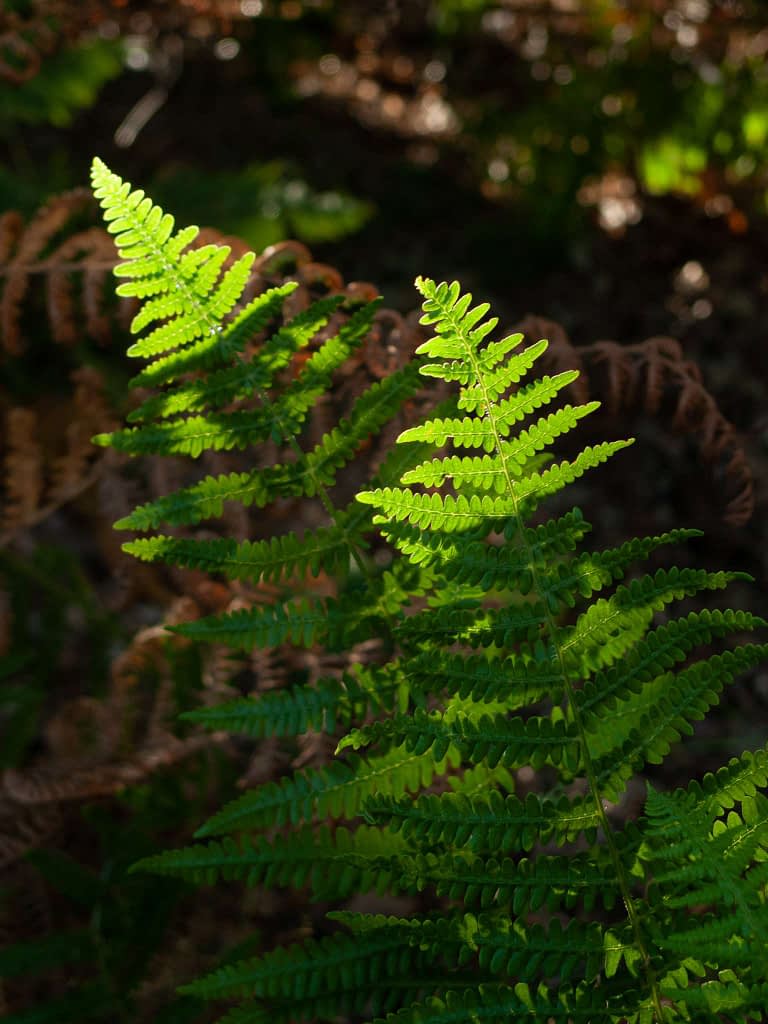
3. Simplify Your Compositions: Woodlands can feel visually chaotic, making simplification key to creating impactful images. Focus on isolating specific subjects such as a glowing leaf, a spotlight of sunlight filtering through the canopy, or a tree trunk with intricate patterns of bark. Shadows can act as a natural backdrop, minimising distractions and emphasising the illuminated subject. A careful balance of light and shadows brings harmony to what might otherwise seem overly cluttered. Darker areas can also frame brighter elements, creating contrast and helping your focal points stand out.
4. Embrace the Weather: Rainy conditions bring unparalleled opportunities for woodland photography. The forest comes alive with vibrant colours, enhanced textures, and softened, gentle lighting. Raindrops glistening on leaves or clinging to branches add a level of detail that transforms ordinary scenes into extraordinary compositions. Rain amplifies the delicate interplay of light and shadows, highlighting subtle details that might otherwise go unnoticed. Equip yourself with waterproof gear, and you’ll be free to explore these magical moments with confidence.
5. Use Shadows and Natural Patterns: Shadows offer incredible creativity in woodland photography. They can act as natural frames or generate intriguing patterns across the forest floor as light filters through leaves. Tree trunks often create striking leading lines, gently guiding the eye through the composition. By paying attention to shadow patterns from branches or leaves, you can craft intricate, textured images that feel dynamic and intentional. Shadows are not just background elements; they are active participants in creating depth and harmony.
6. Be Patient and Observant: Patience is one of the most important skills for woodland photographers. Light in the forest shifts continuously, whether from moving clouds or a breeze brushing through tree canopies. Early mornings are particularly rewarding, presenting fleeting moments such as a sunbeam illuminating mist or dewdrops glittering on leaves. Waiting for the perfect interplay of light and shadows can transform a simple scene into something spectacular.
By incorporating these strategies, you’ll be better equipped to tackle the challenges of light and shadows in woodland photography. The forest’s unpredictability offers endless surprises: when fully embraced, it can guide both your creativity and your lens to remarkable results. Each visit to the woods holds the potential for unique and unforgettable artistry.
Post-Processing Tips for Light and Shadows
Editing woodland photographs can be just as rewarding - and challenging - as capturing them. Light and shadows play a fundamental role in shaping the mood and atmosphere of these images, and post-processing provides an opportunity to refine and enhance these elements. When I first started editing woodland photography, I often relied on global adjustments, unintentionally losing the natural feel of the scene. Over time, I’ve learned that focusing on local adjustments is key to making subtle yet impactful changes while preserving the forest's authentic character.
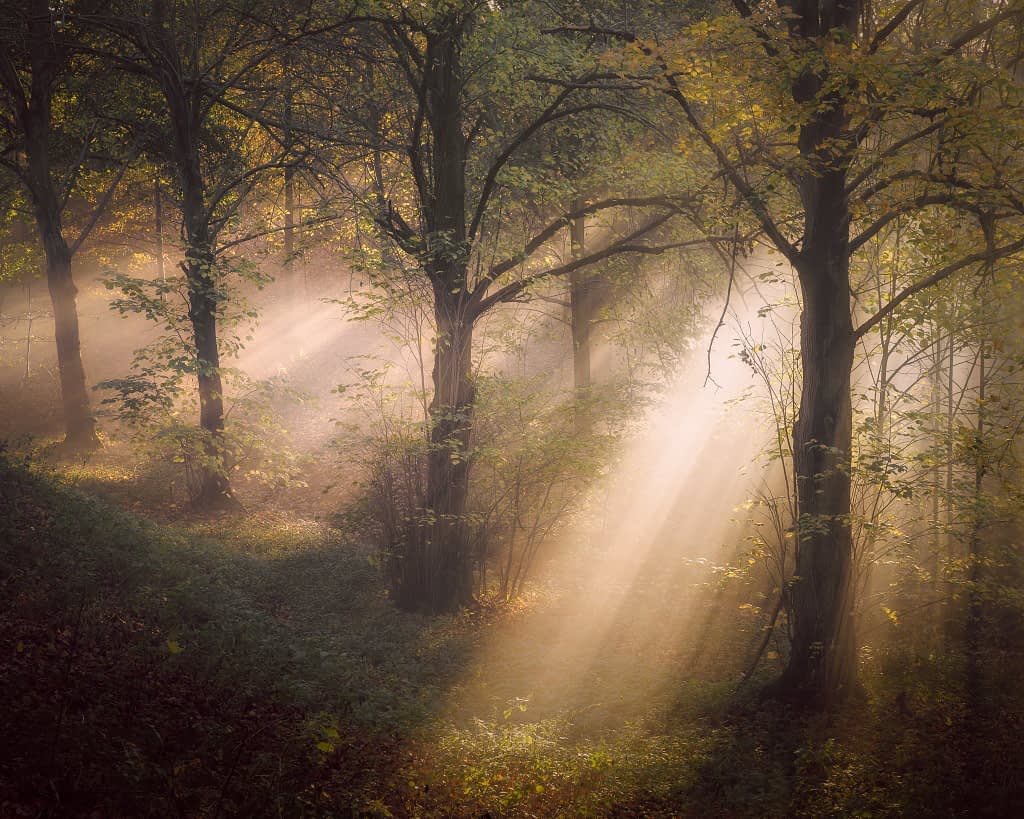
1. Accentuate Light Rays and Glow: Light rays in woodland scenes can feel magical, but they often need a little help in post-processing to stand out. Using radial filters or adjustment brushes to subtly brighten sunbeams and add warmth enhances the balance of light and shadows in woodland photography. For a dreamy, ethereal effect, consider reducing clarity and slightly increasing highlights in specific areas. These gentle adjustments will amplify the enchanting qualities of forest light without overpowering the overall image.
2. Use Dodging and Burning to Add Depth: Dodging (lightening) and burning (darkening) are essential techniques for creating depth in woodland photos. They allow you to emphasise key elements, such as leaves dappled with sunlight or the shadowy bark of a tree, subtly guiding the viewer’s eye through the composition. When carefully applied, dodging and burning can recreate a natural spotlight effect, enhancing the dynamic interplay between light and shadow across your scene while adding dimension and focus.
3. Enhance Textures Selectively: Woodlands are brimming with detail, from the rough textures of bark to velvety moss or glistening raindrops. Applying clarity selectively is a great way to bring out these intricate elements. Be cautious, however - global clarity adjustments can disrupt the tranquil atmosphere often found in woodland images. By targeting specific areas like a tree trunk or a leaf catching light, you can preserve the softness of the scene while still drawing attention to its natural textures.
4. Balance Highlights and Shadow Details: Bright sunlight filtering through the canopy can sometimes dominate a composition, while deep shadows may obscure important details. By using local adjustments to tone down highlights and recover subtle shadow details, you can achieve better balance without flattening the image. Keeping the delicate interplay of light and shadows intact is crucial for maintaining both depth and intrigue in woodland photography.
5. Refine Colours Thoughtfully: Woodland photos are often dominated by greens and browns, which can feel overwhelming straight out of the camera. Adjusting the white balance is vital for establishing mood - cool tones evoke mystery and serenity, while warmer tones create an inviting, golden light. Use tools like the HSL panel to desaturate and reduce the yellow in overly vibrant greens or enhance seasonal hues such as autumnal oranges and yellows, creating a composition rich with atmosphere and subtlety.
By refining the balance of light, shadows, textures, and colours, you can elevate woodland photographs while staying true to their natural essence. Thoughtful editing is an extension of your creative process, enabling you to highlight the beauty and mood of the forest while producing captivating yet authentic imagery.
For a deeper dive into woodland photo editing, check out my guide: Transform Your Woodland Photos With Simple Editing Techniques. It features my five most impactful tips to elevate your post-processing skills and bring out the best in your images.
Conclusion
Woodland photography is as much about keen observation as it is about refined technique. Light and shadows are the true protagonists in your images, shaping mood, steering the viewer’s eye, and revealing the hidden magic of the forest. From the golden hues of sunrise streaming through the canopy to the dramatic contrast of light and shadow on a misty morning, these elements elevate simple snapshots into compelling works of art.
Throughout this guide, we’ve explored how to work with various types of light - from dappled sunlight to overcast skies - and how shadows can become powerful tools for creativity. Along the way, we’ve shared practical advice for both photographing and editing woodland scenes, demonstrating that even difficult lighting conditions can lead to remarkable outcomes. With patience, a touch of experimentation, and the techniques outlined here, every walk in the woods can become an inspiring photographic experience.
Now it’s your turn. Grab your camera and venture into the woods. Observe how the light filters through the trees, creating intricate patterns and textures, and notice where shadows lend shape and depth. Embrace the unexpected moments, challenge your creativity, and most importantly, enjoy the process. More than producing stunning images, woodland photography is about connecting with nature, discovering its quiet beauty, and finding joy in capturing timeless scenes. Ready to elevate your skills even further? Download my guide: Taming The Chaos: The Key to Better Woodland Photography Compositions and start turning your forest explorations into unforgettable photographic masterpieces.