
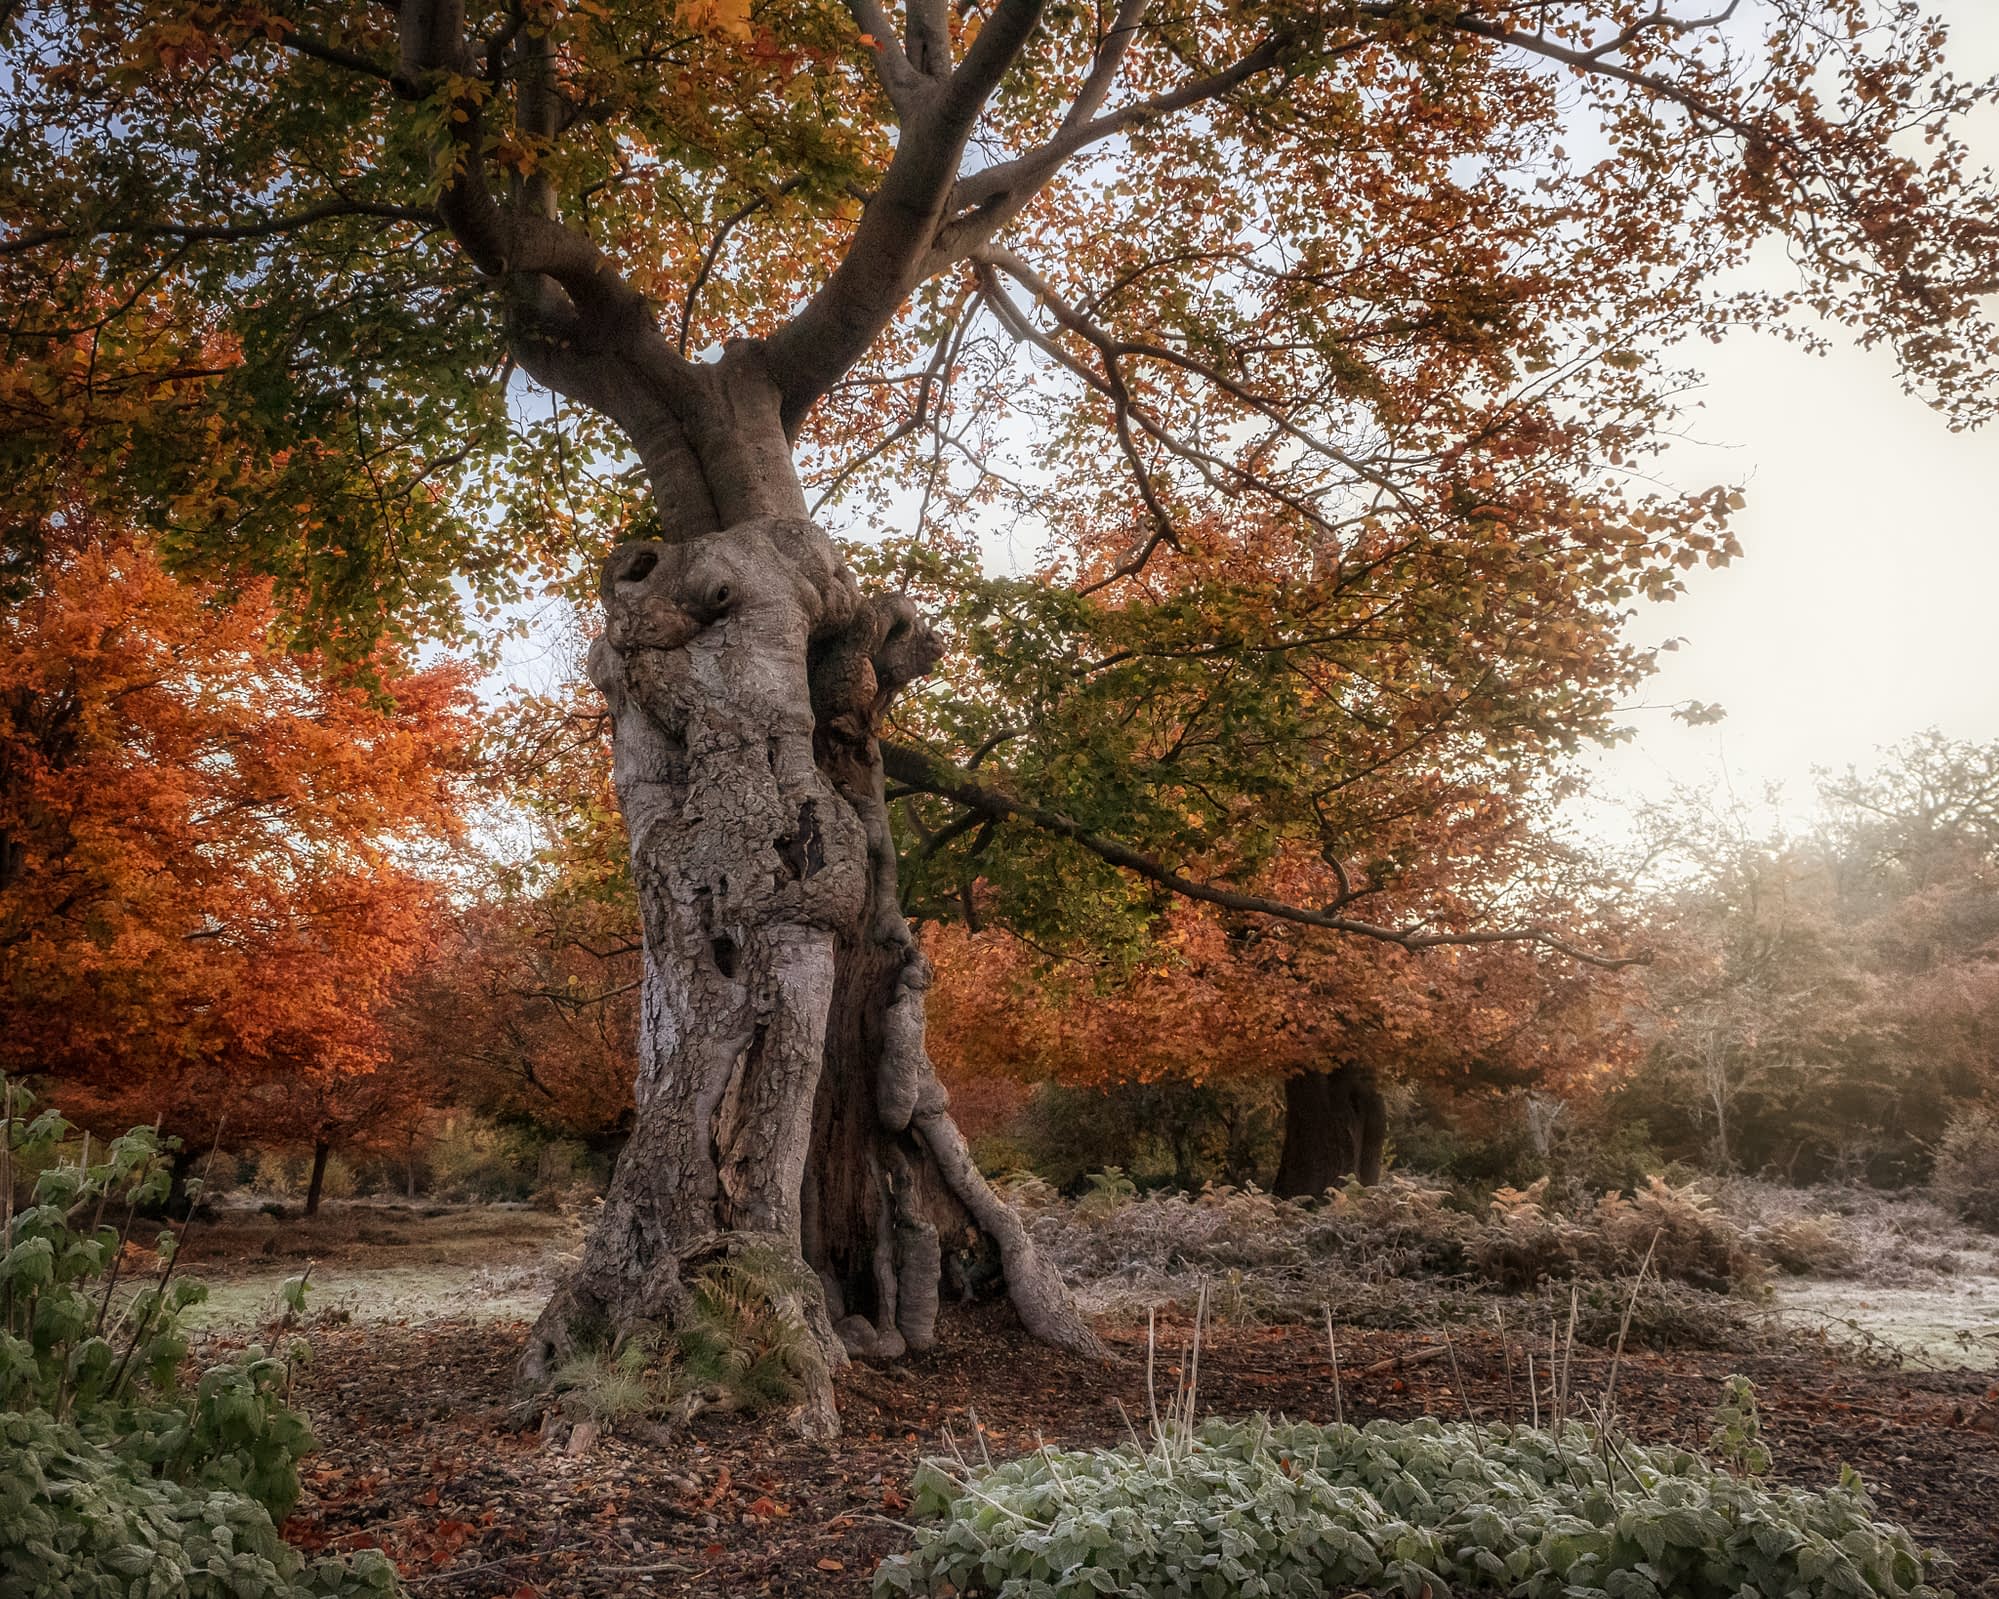
Most guides to woodland photography composition basics begin with the rule of thirds. This one does not, because the rule of thirds is not how composition works in a wood. The rules most of us are handed come from open landscape, where there is a horizon to level against, negative space to give a subject room, and depth that stacks into clean layers. A wood reliably gives you none of those. What works instead is learning to see how your eye groups and separates what is in front of it: which trunks read together, which one stands apart from its background, and what has to leave the frame for the rest to hold.
I should be honest about where this comes from. Most of my own images do not follow the rules, and where one of them does, it does so by chance. I did not learn the rules and then unlearn them. I learned the wood. The rules describe frames that already work; they are not a method for making them. A beginner who spots a third in a finished frame has lost nothing, but one who spends the morning placing things to satisfy the rule is on the road to the interchangeable image. If you are new to the woods altogether, my beginners' guide to woodland photography covers the wider ground; this page stays with composition.
In this article
Why the rules you were taught stop working in a wood
Stand in open country and the rules have something to hold onto. There is a horizon to sit a third of the way up the frame. There is sky, which is empty space, so a lone tree has room to read as a subject. There is distance, so a foreground, a middle and a background settle into layers. A wood hands you almost none of that. The horizon is hidden. The empty space is filled with more trees. And instead of three clean layers you get many, all overlapping, all made of the same thing at roughly the same distance.
So the open-landscape kit comes with you and finds nothing to do. That is also why you can leave some of it at home. You do not need a graduated ND filter in a wood, because there is no bright sky to hold back, and I explain why I rarely reach for filters at all in a separate post.
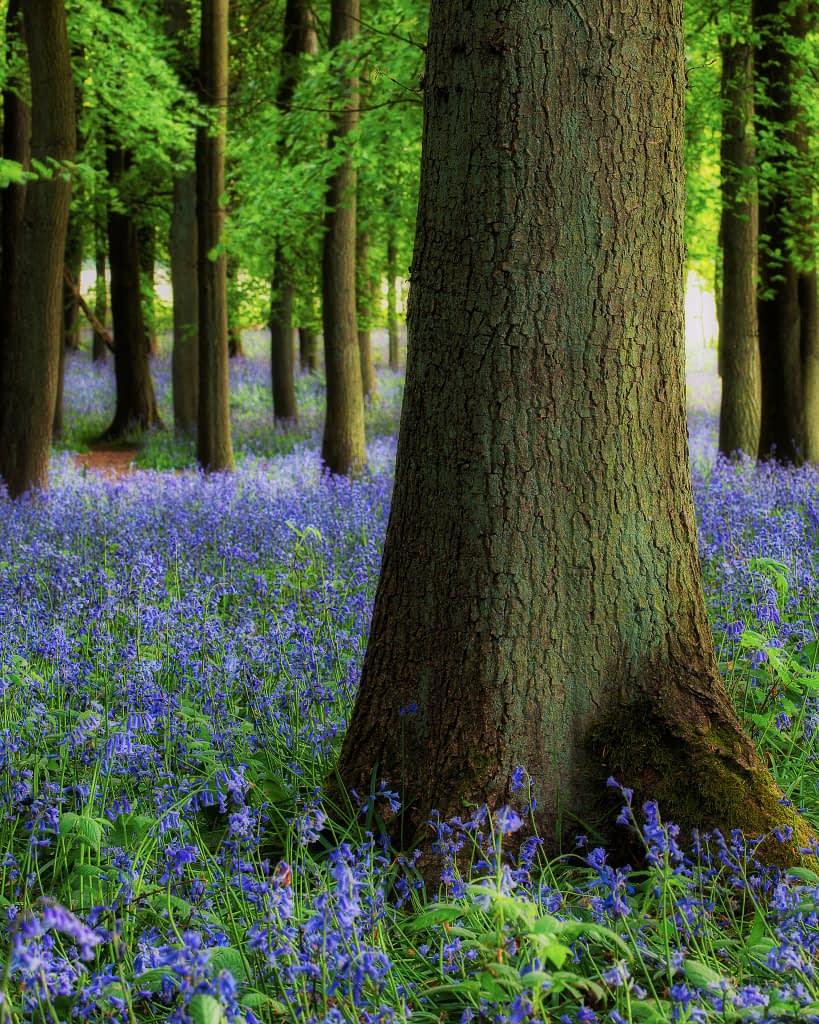
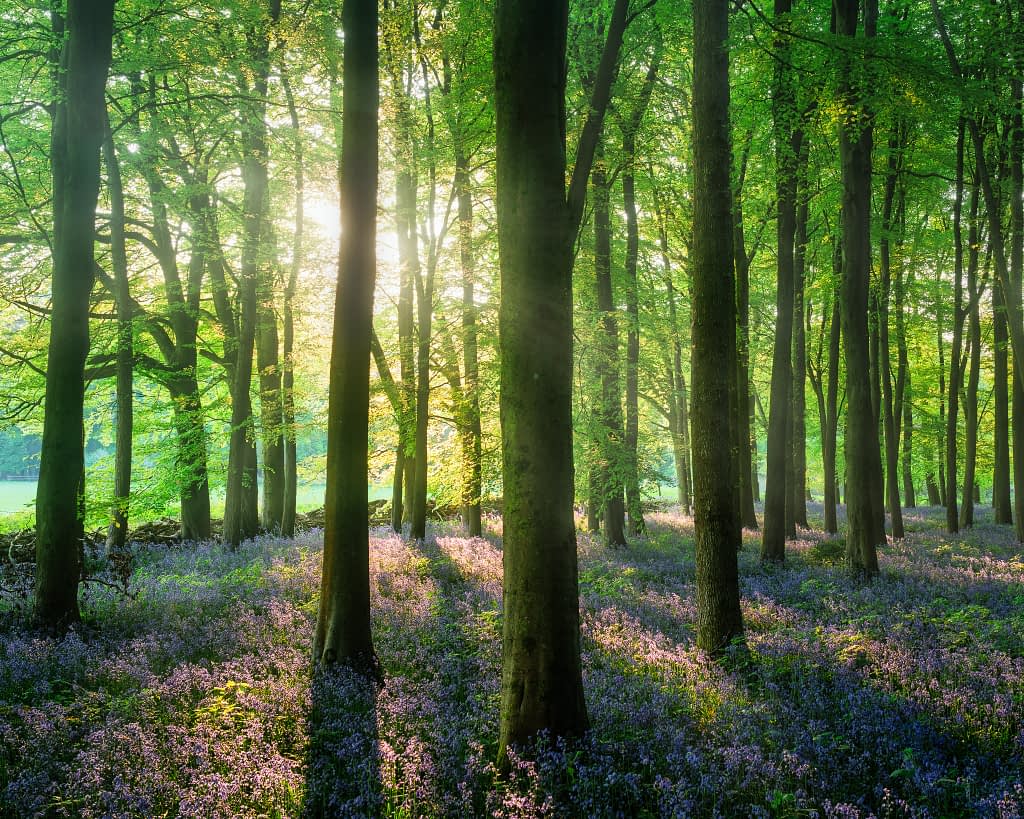
Take that frame. It works because it is simple, and because the trunk sits clear of the soft wood behind it. The trunk is close to the middle, where a third would never have put it, and it is none the worse for that. I will be honest about its limits, though, because they make a useful point. It does not fully work for me now, and the reason has nothing to do with where anything sits.
The bright area to the right of the main trunk pulls the eye off the subject, and that is an editing problem rather than a composition one; the file, from a Canon 5D Mark II some years ago, probably does not hold the range to rescue it. A frame can be composed right and still fall short for reasons that lie entirely outside composition.
How does the eye group a woodland scene?
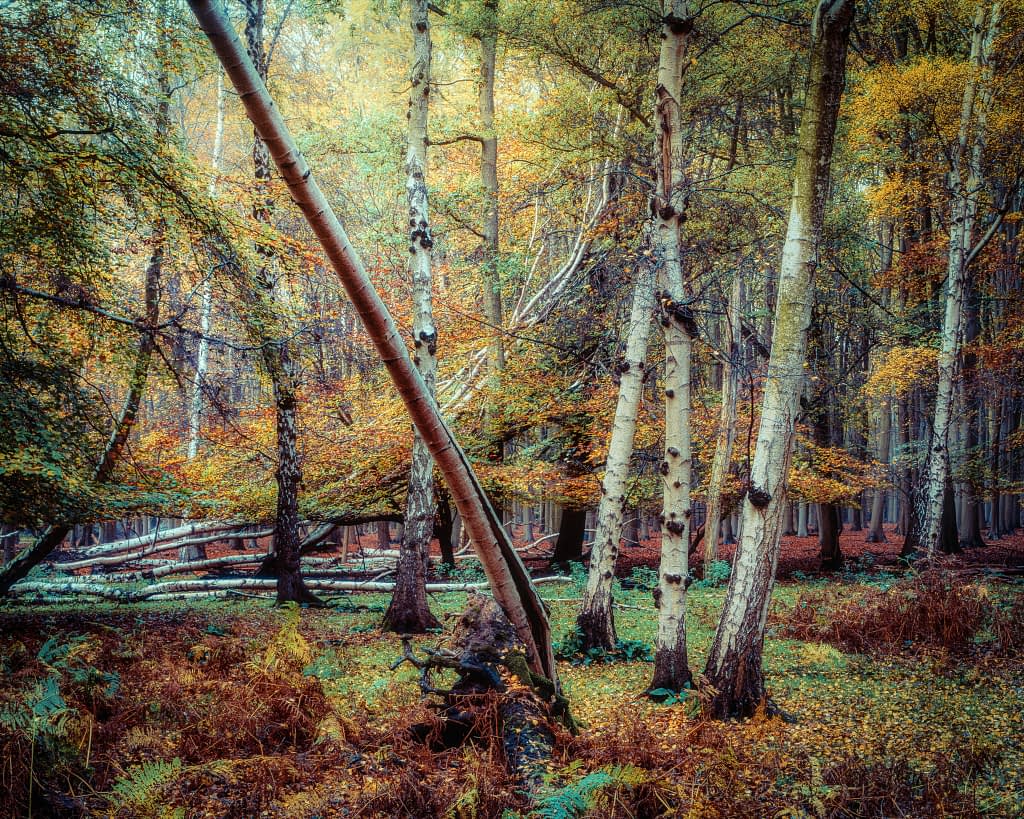
If the rules are not the method, what is? The answer is older than the rules and sits underneath them. Your eye groups and separates a scene on its own, before you have thought about it, and you can learn to work with that rather than against it. The names for it come from how perception works: proximity, similarity, and figure and ground.
They are simpler than they sound. Trunks that stand close together read as a group. One that differs in tone or shape stands apart from the rest. And a subject holds only when it separates from what is behind it; the moment it merges with a trunk at the same tone, the eye loses it. You do not have to memorise the terms. You only have to keep asking one question of every frame: what is grouping here, and what is standing clear?
What should I photograph first?
Before any of that, the simplest question, and the one most easily skipped: what made you raise the camera? Something did. A shaft of light, a single trunk, the way two trees leaned the same way. That thing is your subject, and everything else in the frame is there on its terms or it leaves.
Beginners tend to raise the camera at something and then photograph all of the wood around it as well. Name the one thing first. It makes every decision after it easier, because now you have something to protect and something to cut.
How do I simplify a busy scene?
Simplifying is mostly subtraction: deciding what to leave out so the subject has room to read. It has its own guide, how to simplify busy woodland scenes, which works through the method properly. Here I only want to show you one pair of frames.
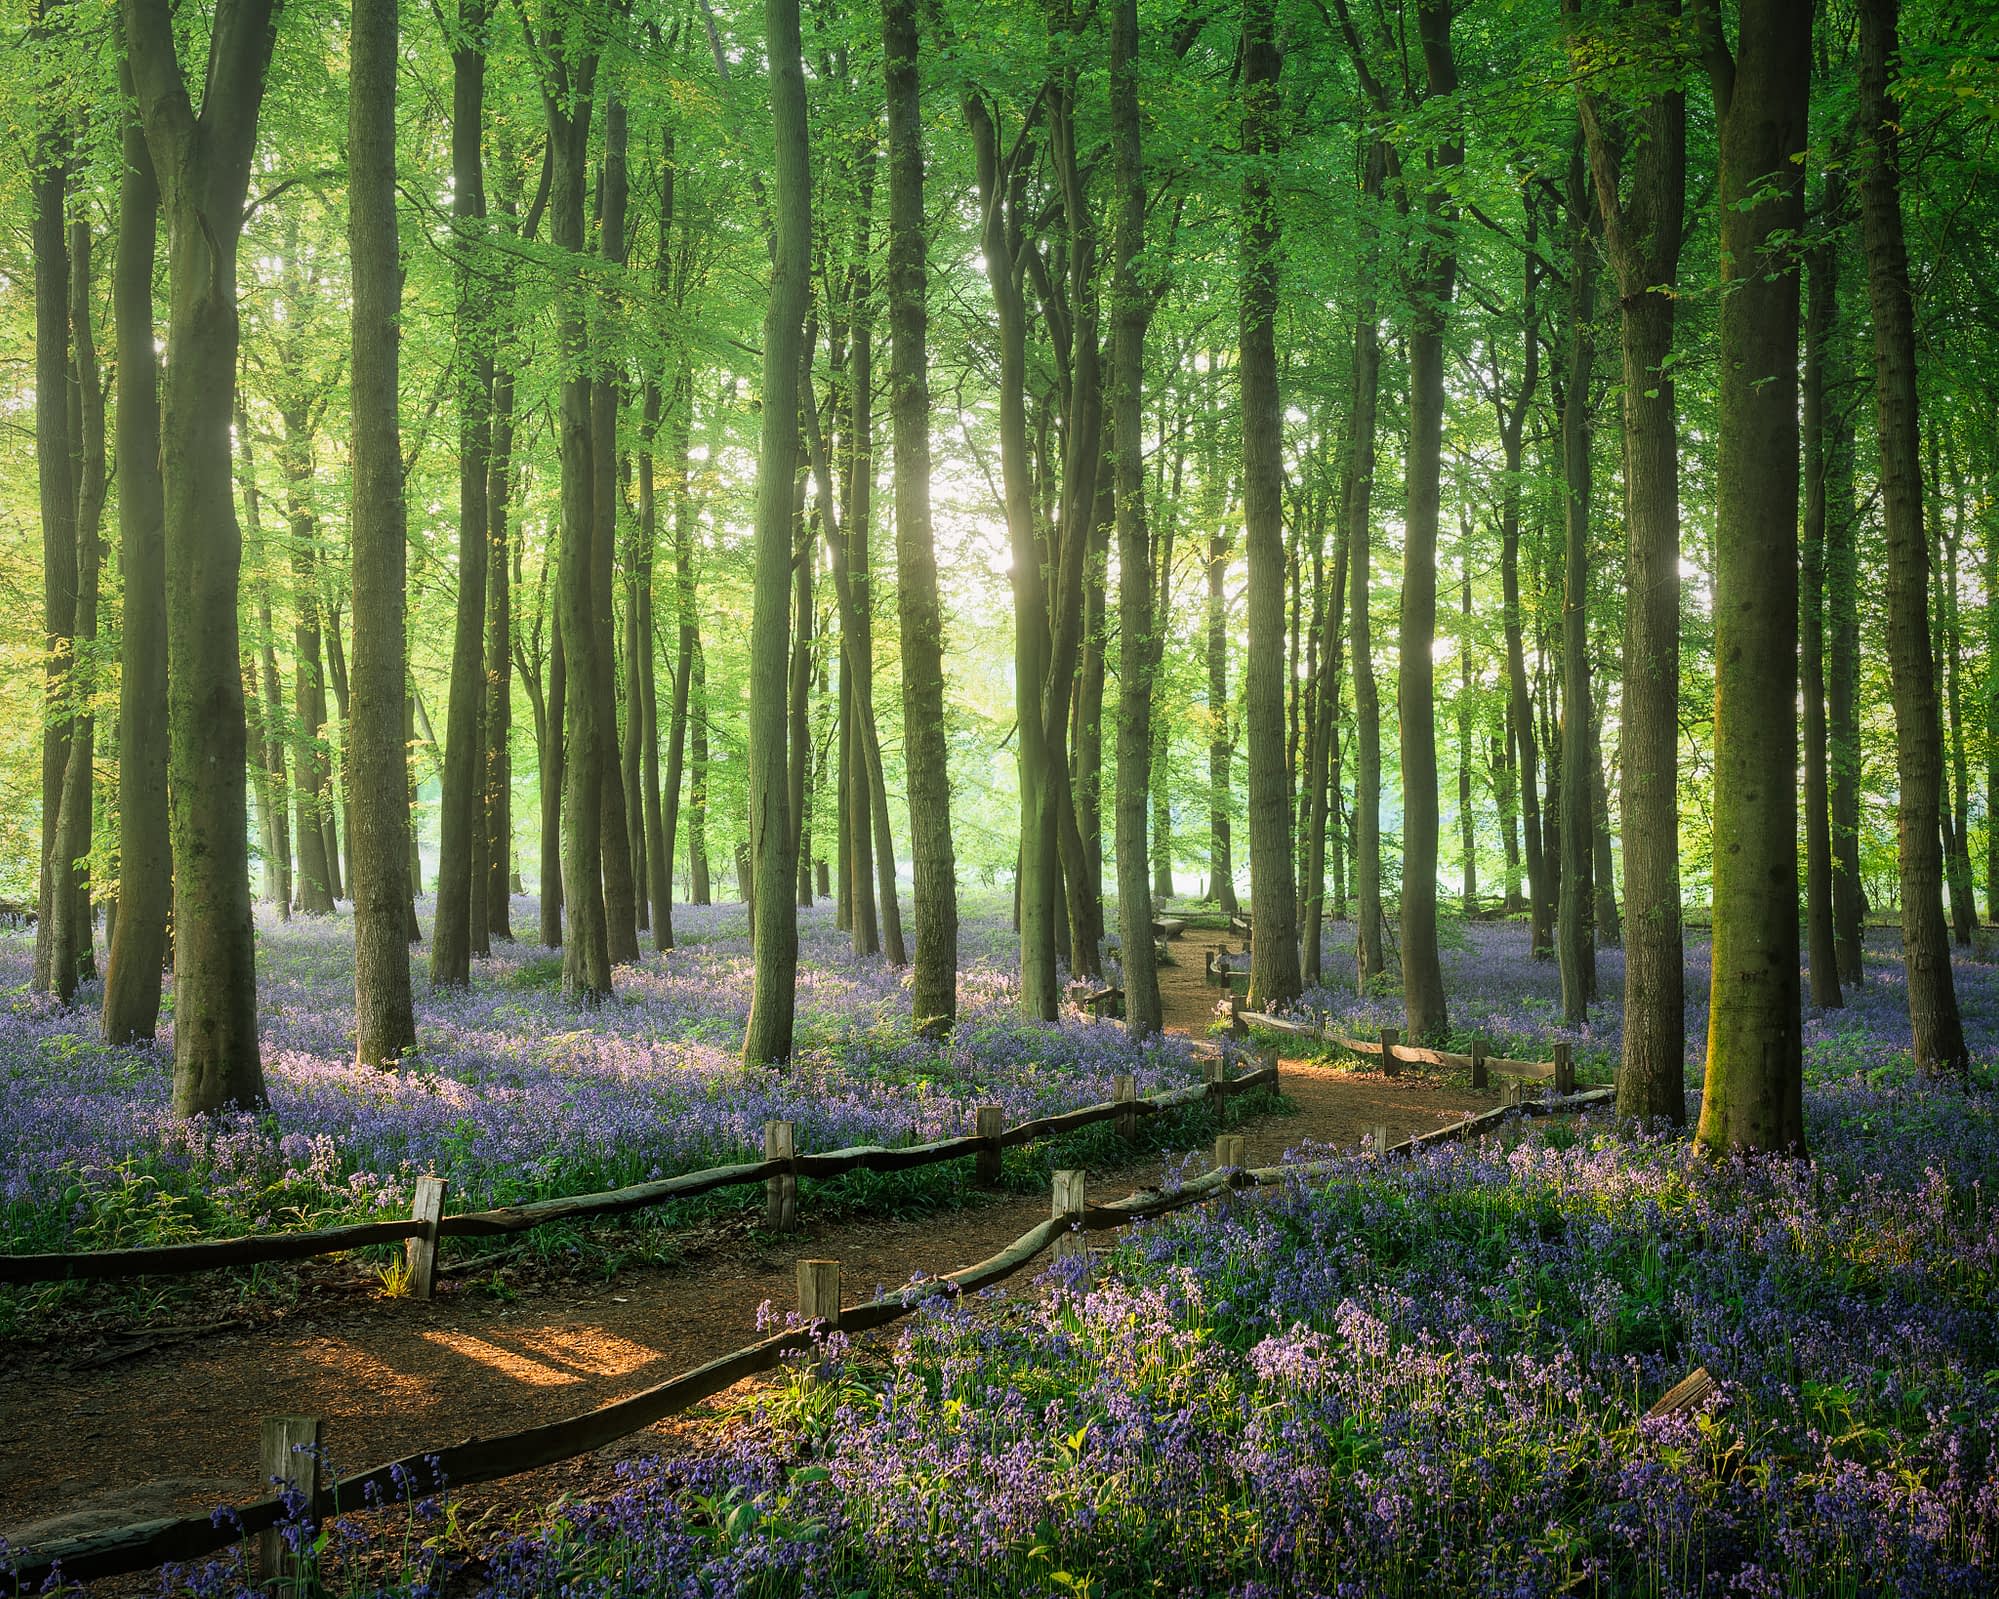
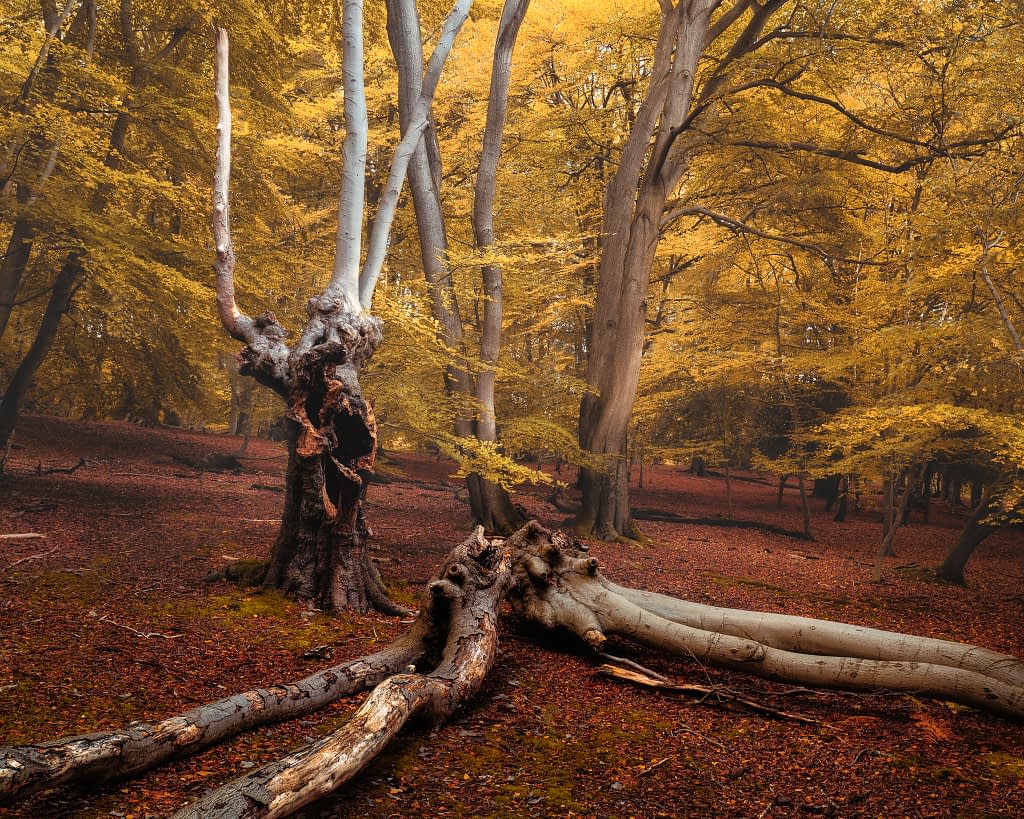
These two were made moments apart, in the same bluebells at Ashridge Estate. In the first, a fence and a path cut across the frame and the trunks bunch to the left; too much is competing and nothing is clearly the subject. The second is the one that works, obviously. Getting from one to the other was not mainly a matter of my feet. I moved a little, but more importantly I swept the camera round to the left and zoomed in, back to "the image that had actually attracted me to raise the camera in the first place," and let the rest fall outside the frame.
Where do I put the edges?
Edges matter more in a wood than almost anywhere, because in a wood everything touches everything. A bright trunk clipped by the border, a branch poking in at the top, a pale gap in a corner: each one tugs at the eye and quietly unpicks the frame you worked to build.
The habit worth building is simple. Before you press the shutter, run your eye once around all four borders, not the middle, where you are already looking. If something is snagging there, fix it in the viewfinder by shifting your feet or your zoom, not in the crop afterwards, because cropping to cure one edge usually costs you something on another. There is a whole post on that alone, edge patrol.
Where do I focus and what aperture?
I don't tend to like to use a very shallow depth of field, but equally, I don't like it when everything's sharp either. I prefer a gentle drop-off in sharpness with the subject and main areas of interest kept sharp. It's okay for the rest of the scene to drop off into a subtle, but softer focus. I shoot around f/7.1 to f/9 in most scenarios. You don't need to worry if every leaf is sharp and, if it is, you'll probably overwhelm your viewer with too much visual information.
That is the aperture side of it. Where you place the focus matters just as much: put it on the thing you want the eye to land on first, the main trunk or the nearest point of interest, and let the sharpness fall away from there. The full method is in where to focus in woodland photography.
Which focal length?
You saw a longer focal length do the work in the bluebell pair above: the zoom was what isolated the subject and dropped the clutter out of the frame.
That is really what focal length is for in a wood. A longer lens is a tool for leaving things out; it narrows the view, lifts one group of trunks clear of the rest, and pushes the busy edges of the scene outside the frame. A wider lens does the opposite, pulling more of the wood back in, which is why the woods usually reward reaching for length before width. Which length, and why, is its own subject, and I have set it out in best focal length for woodland photography.
What does light do to a composition?
In a wood, light is often what separates one trunk from the next, so it is worth reading the light before you look for a composition, not after. Overcast flattens the contrast and lets colour and texture carry the frame. Mist does the separating for you, laying the near trunks dark against the pale ones behind. Hard sun scatters bright patches across everything and, more often than not, makes the scene harder rather than easier. Two posts go further: light and shadows in woodland photography and overcast lighting.
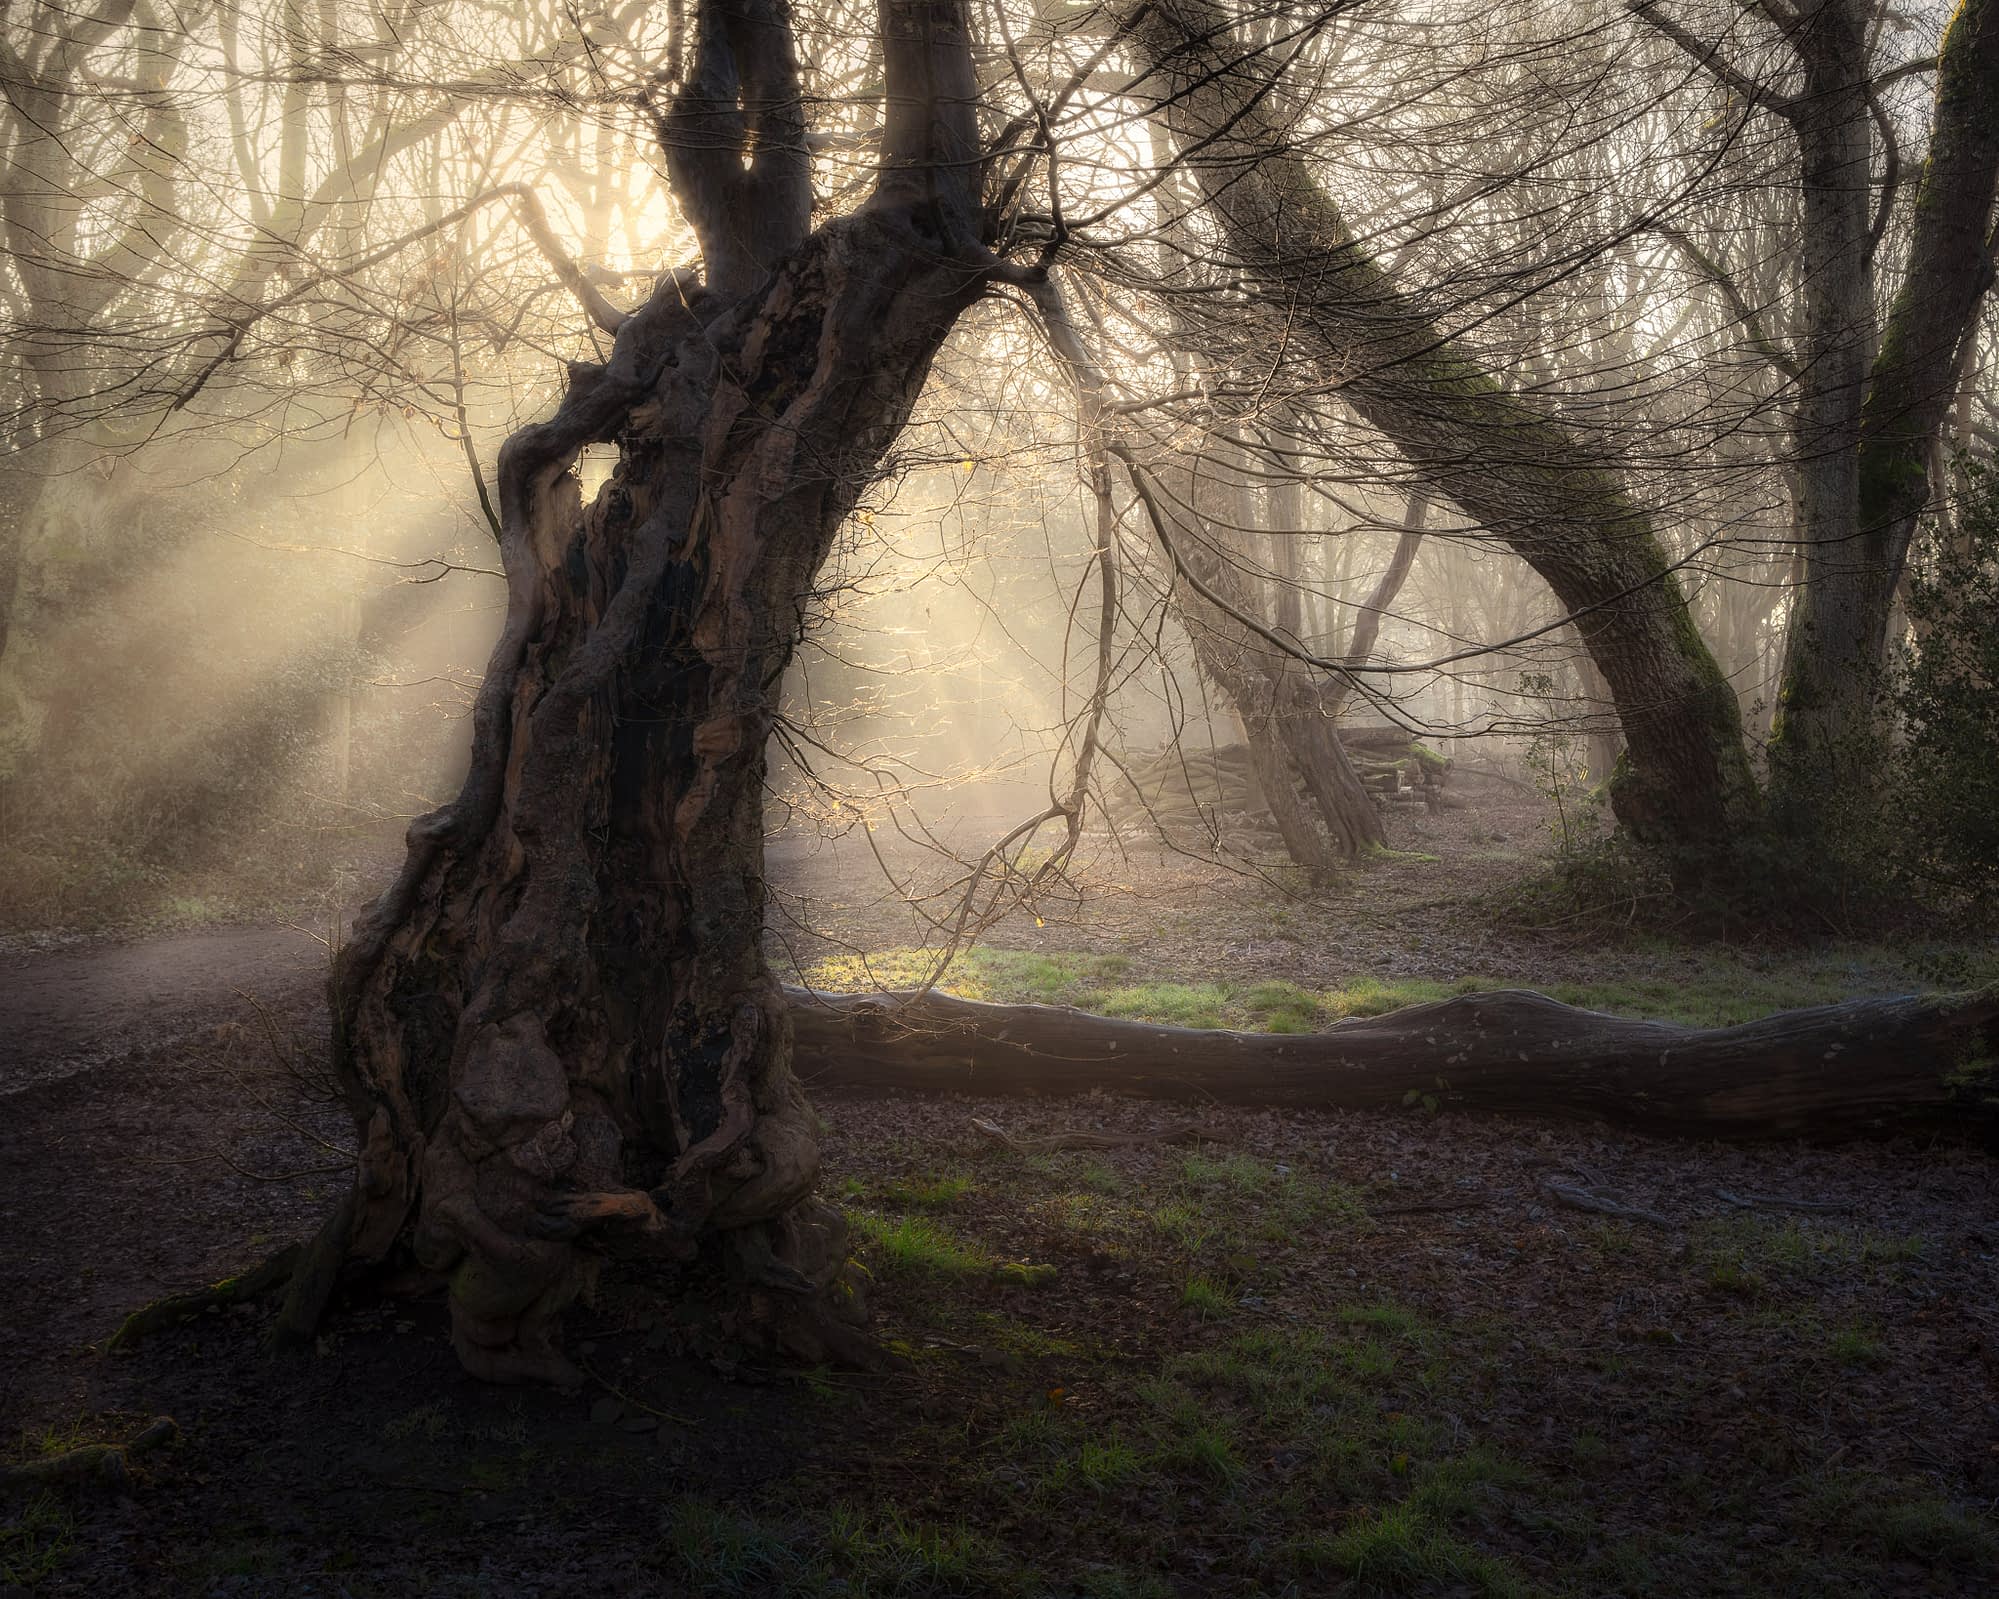
This winter morning at Hainault Forest was mostly dictated by the light. The one decision that mattered was lining the rays up with the old hornbeam and the trees behind, which arch over the gap so the eye can walk through it. The light made the picture possible; the alignment made it hold.
Is there a story in the frame?
Sometimes a frame holds a small story, and when it does, it is because the wood put it there, not because you decided in advance to find one.
The image below is a winter frame from Epping Forest. That reading, in the caption, comes straight out of the shapes: the lean of the near tree, the gap between the two, the way the forms turn to face each other. I did not go looking for a story. I noticed one that was already there and framed it.
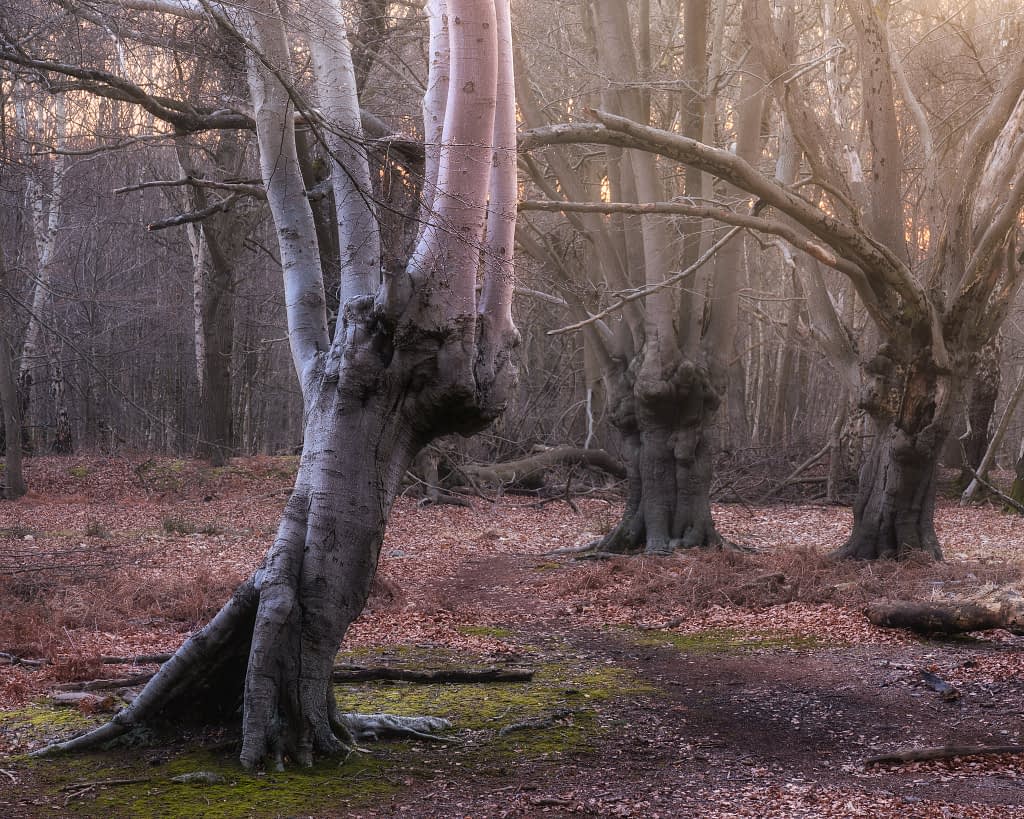
For a beginner that is the whole lesson, and it cuts both ways. Do not go into a wood hunting for meaning, and do not bolt a story onto a frame that will not carry one. If the shapes offer something, as these two trees did, let them; if they do not, the picture is no worse for it. The forced version always shows.
Move your feet, and come back
Two movements matter in woodland composition, one small and one long.
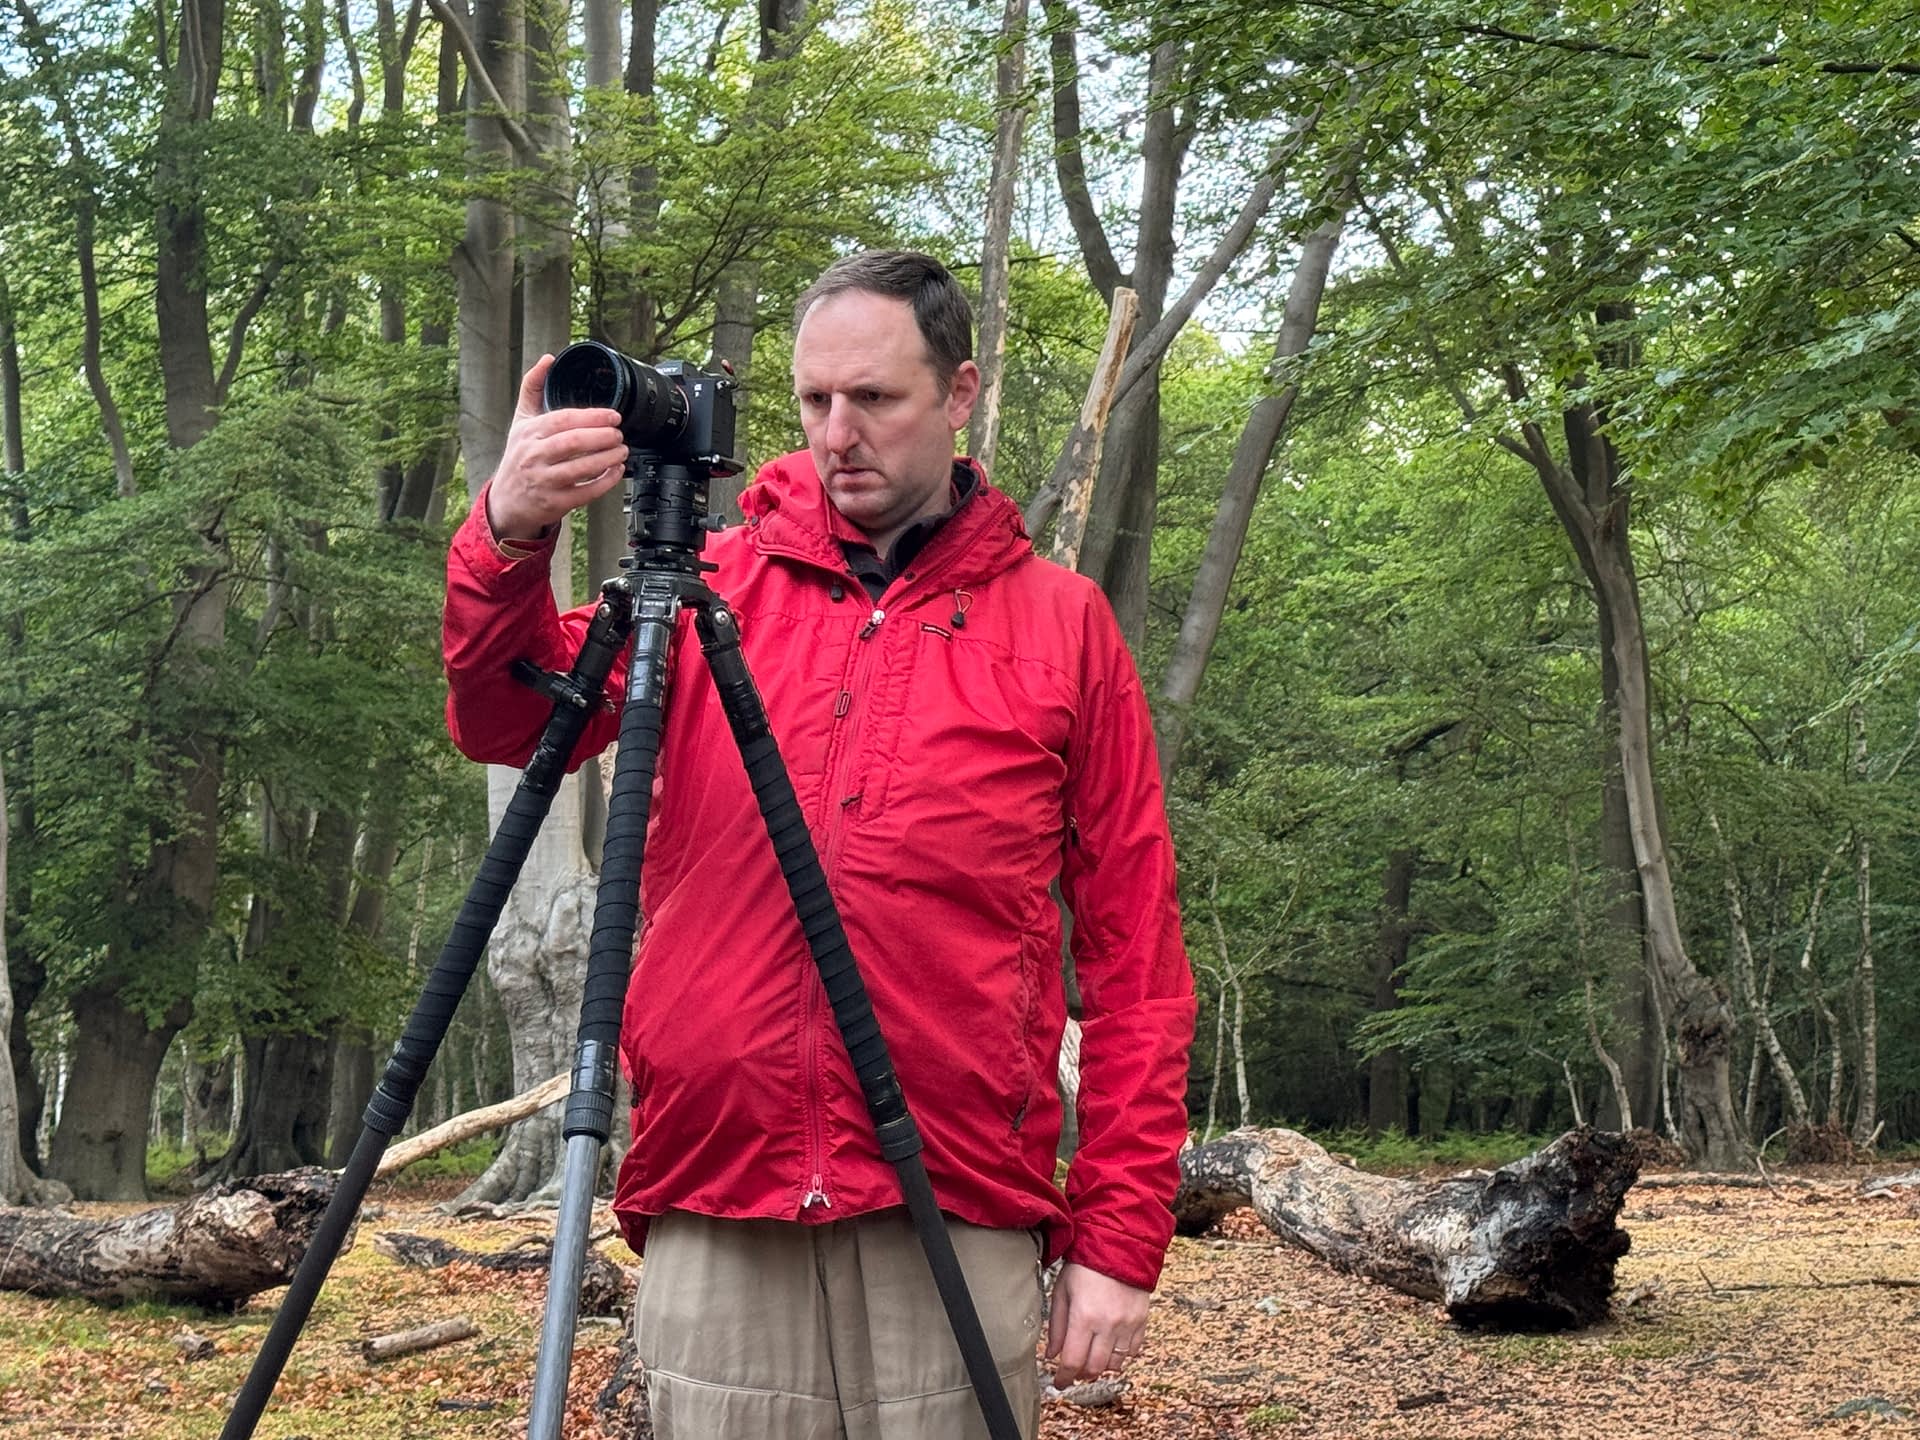
The small one is literally a step. Move a pace to the side and you change which trunk sits in front of which, whether your subject separates or merges, where the light falls. Most of composing in a wood is this: shifting your feet until the relationships line up, or admitting they will not today.
The long movement is return. The side of a tree that works is often found not by circling it once but by coming back, in another season and another light.
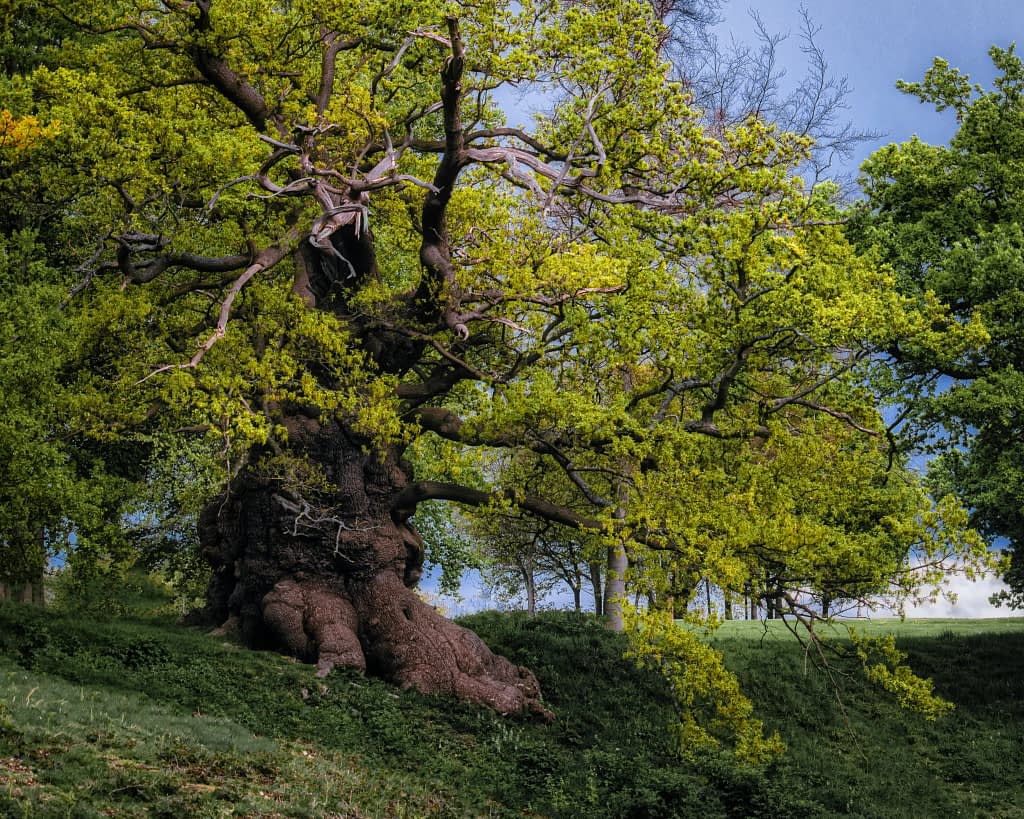
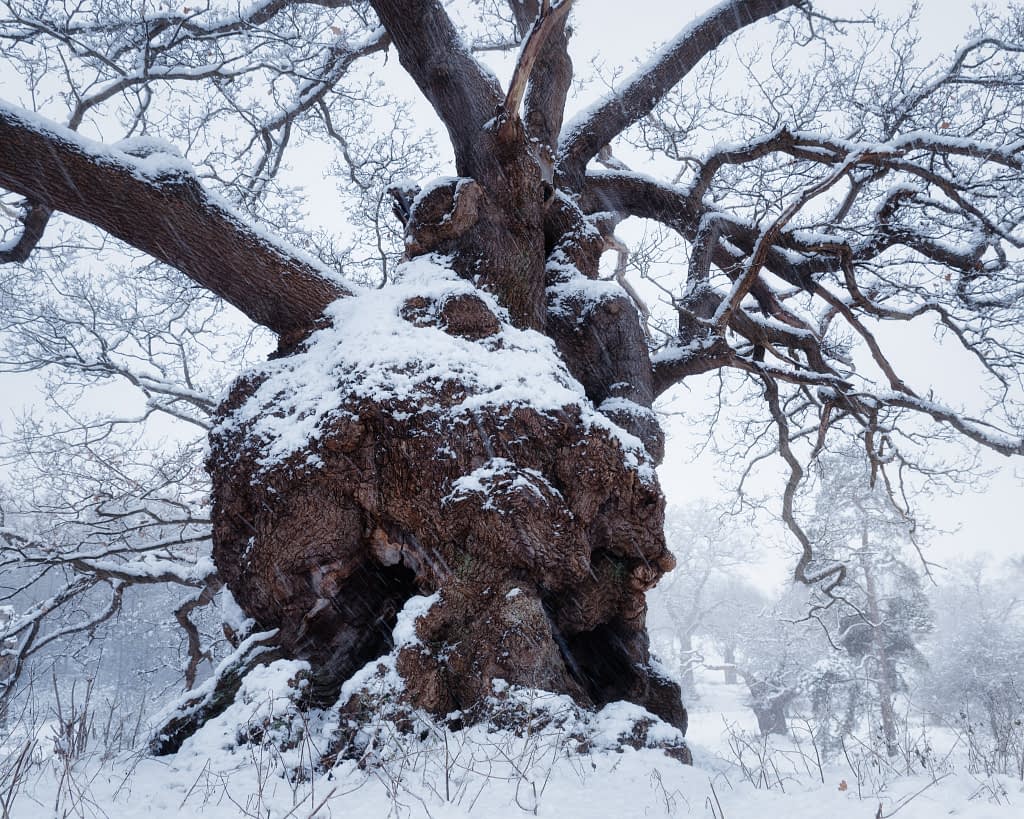
These are the same oak at Hatfield Park, years apart. The first is the frame I made on my earliest visit: a stormy day, blue clouds, and some sunlight appearing in the scene as the storm cleared, the whole tree in view. It is the frame most of us would make. The second came much later, in falling snow and low to the ground, on the kind of morning most people stay home for. I go further into what returning to one subject does to the work in farming compositions; here it is enough to say the frame I would keep came from coming back, not from the first visit.
Where this leaves you
None of this is a checklist, which is the point. The rule of thirds is a checklist, and a wood is the place checklists go to fall apart.
What replaces them is slower and, in the end, more useful: looking long enough to see how a scene is already arranging itself, then making the few decisions that let it read. That is a skill, and skills grow with use. Go back to one wood enough times and you will start to see the groupings before you have raised the camera.
If you would like a second pair of eyes on your own frames, I run small woodland photography workshops. Otherwise, the next step is simply the next walk.
If you’re looking for even more actionable advice to elevate your skills, download my free guide, Taming The Chaos: The Key to Better Woodland Photography Compositions. This resource is packed with practical insights to help you grow as a photographer. Click here to download now.

Frequently asked questions
Does the rule of thirds work in woodland photography?
Rarely, and never as a method. The rule of thirds assumes a horizon and open space that a wood does not give you, so applying it usually just moves the clutter around. If a finished frame happens to sit on a third, that is fine, but placing things to satisfy the rule tends to produce woodland photos that all look the same. Build the frame around your subject and its separation from the background instead.
Why do my forest photos look like a mess of twigs?
Because the frame is holding everything, not one thing. In a wood the subject and the clutter often sit at the same distance and the same tone, so nothing stands clear. Pick the one element that made you raise the camera, give it separation from what is behind it, and leave the rest outside the frame.
What aperture should I use for woodland composition?
Around f/7.1 to f/9 works for most woodland scenes. It keeps the subject and the main areas of interest sharp while the rest drops into a softer focus, which usually reads better than having every leaf sharp. Aperture is not what makes or breaks the composition, though; subject choice and separation come first.
Do I need a graduated ND filter for woodland photography?
No. A graduated ND filter is for holding back a bright sky above a darker landscape, and a wood rarely shows you the sky at all. You can leave it at home, along with most of the filters that belong to open-landscape work. A polariser is the one that occasionally earns its place, for taking the glare off wet leaves.
How do I simplify a chaotic woodland scene?
Start by naming your subject, the one thing that stopped you. Then take away everything competing with it: change your position so distracting trunks fall away, use a longer focal length to crop in, and check the edges for anything half in the frame. Simplifying is subtraction, not addition; the frame improves by what you take out of it.
